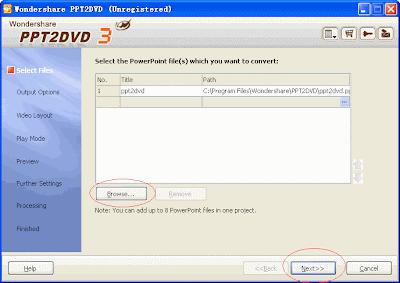
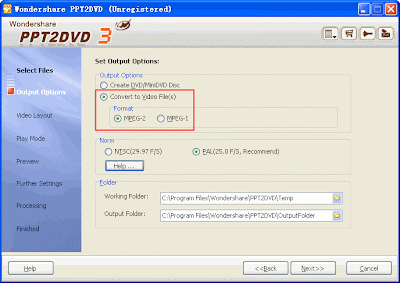
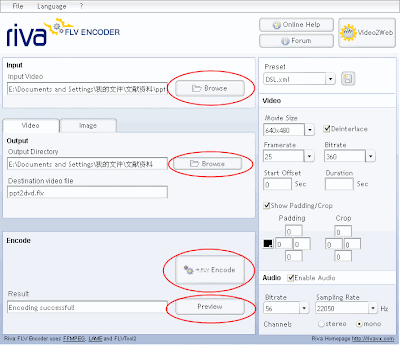
Wondershare PPT2DVD 3.9.10--convert powerpoint to dvd
http://www.ppt-to-dvd.com/download.php?sid=4
PowerPoint
The most widely used presentation software anywhere
Review of PowerPoint 2007
I've been working hard on updating my PowerPoint, which will be called How to Do Everything with Microsoft® Office PowerPoint® 2007. It's due out in January. As I've gone through the chapters, I've delved into every nook and cranny of the new program, and here is my review. (Note: Features could change or be eliminated before the final version is shipped, but don't expect any major changes.)
Ribbon
Much has been made of the ribbon. Essentially, it's just one big toolbar with tabs. The old toolbars and menus are gone, but the old dialog boxes and taskpanes are mostly the same. Sometimes the ribbon is annoying, because you have to display the appropriate tab before you can get to the command you want. Other times, it's more efficient. It's not customizable, but there is a Quick Access toolbar at the top of the application window that you can customize.
Themes
A major new feature is themes. They are like templates, but they can't have slides in them. They are meant to contain design information only. You can create your own themes, save them, and reuse them, just like templates. Themes are made up of sets of theme colors (like the old color schemes), theme fonts (just two, one for titles and one for slide text), and theme effects, which are various treatments of shapes. (AutoShapes are now called just shapes.) You can quickly change the entire look of a presentation by changing the theme colors and theme effects. Another benefit is that Word and Excel can use them, too, but you need to understand them well to make this work effectively.
Background styles
Background styles are very simple backgrounds -- solids or simple gradients. Their advantage is that they look sleek and they know if they're light or dark. So, if you have a light background with dark text, you can switch to a dark background style and your text automatically becomes light -- no contrast problems!
Custom layouts
You can finally create your own layouts and save them in your templates and themes. Templates and themes now include all the layouts. To create your own layout, you insert one of 8 placeholder components, then resize and plaace them as you want. Slide masters have 12 layouts, by default, including section slides and comparison slides. I'm very pleased, as this was an improvement that I requested.
SmartArt graphics
SmartArt graphics are an evolution of the old diagrams, which were pretty useless. They're much better now. First of all, there are many more of them. Also, they work better; for example, you can convert bulleted text into a diagram. The styles look better, too.
Quick Styles
Everything has Quick Styles. These are preset formatting for shapes, backgrounds, charts, tables, pictures, SmartArt diagrams, and more. You get at these styles through drop-down galleries. What's cool about the galleries is the (almost all of the time), you can see the result on your slide by just hovering the cursor over a choice. So, no clicking and undoing over and over.
Would you like to see this in action? I'm still new at Camtasia, which is a program that takes videos of the screen. For some reason, it didn't pick up the Picture Styles. On my screen, the styles were expanded so I could choose them. But you see the results, as I try style after style. Do you like the one I finally chose? Watch the movie. (Note: This is a 9 MB file.)
New text styles
Text has more options, similar to Word. So you can do (all caps, small caps, strikethrough, double underline, and more.
New effects
Both shapes and text have new effects, specifically glow, soft edges, reflections, and bevels.
WordArt for any text
Speaking of text, you can apply WordArt-type effects to any text.
Charts integrated with Excel (if you have it)
Charts are done in Excel, not the old datasheet, if you have it. (Otherwise, you're back to the datasheet.) This gives you more capabilities, but also makes it easier to transfer data from Excel. They also have more formatting options.
Better gradients
Gradients are much improved; you can now have up to 10 colors! And specify where each color switches to another color. Hallelujah! (This was one that I asked for.) This one has 6 "stops."
Visibility and Selection taskpane
This new taskpane lets you set the visibility and display order (front to back) of objects, but also lets you rename them. This is very helpful for animating many objects on a slide.
Compatability & roundtripping
There are extensive features for helping people who will be collaborating with those who don't upgrade. Features can be downgraded to 2003 levels and then automatically upgraded when you open a presentation in 2007 again (roundtripping).
Zipped XML format
The file format is different, and files are generally much smaller. The file is in XML format, then zipped.
New security features: document inspector, prevent changes (mark as final),
The document inspector removes personal information from a file. You can discourage changes by marking a presentation as final (although that can be changed). You can add a digital signature.
Save as PDF
You can save a presentation in PDF format, using a separate, free download.
Wide-screen slide sizes (16:9 and 16:10)
PowerPoint includes wide-screen sizes for wide screens.
Many other smaller changes
This list isn't nearly complete. Some other nice features are:
Paragraph level rulers so you can change settings from paragraph to paragraph within a placeholder
Columns (two or more) in a placeholder, text box, or shape
Convert to Freeform: You can convert shapes to freeforms, so that you can edit their points and use Béziers on them.
You can change brightness and contrast of a background image
Publish to HTML
This feature is pretty broken, unfortunately. PowerPoint 2007 saves to the same HTML as 2003, so you don't get any of the new features. Presentations don't display properly in Firefox. Maybe Firefox will update their browser?
Removed
Yes, some features have been removed:
AutoContent Wizard: no great loss here
Macro recorder: a great loss, in my opinion. Apparently, it wasn't working very well, anyway. For example, you couldn't record setting up animation. With the new features, it was only going to be worse. The macro recorder is still in Word and Excel.
Broadcast feature: This feature for displaying a presentation to multiple people over the Web or an Intranet was difficult to use anyway.
Send for Review: Instead, you just e-mail the presentation and add comments.
Summary slides: I thought this was a good feature. Too bad.
The title master: There's a new title layout in its place, which is simpler to use.
Speaker Notes: I'll miss this one, too. It was the only simple way to add audience input during slide show view


